
Ontraport announced its self scheduling appointment feature recently. With the arrival of this feature most people can get rid of 3rd party appointment scheduling software like Calendly. But as of now, there is one problem. Ontraport self scheduling calendar booking pages cannot be embedded onto an Ontraport page via its page builder elements (As on 22.09.2023)
But that shouldn't be a problem with a bit of coding. The saviour is "iframe"!
Yes, we can embed Ontraport calendar page as an iframe onto any websites just like you did with calendly or any other appointment booking platform.
Let's see how it is done.
Note : Thanks to Landon for coming up with the idea and Ernesto for troubleshooting to make it work for Ontraport forms. Refer this FB post for original idea.
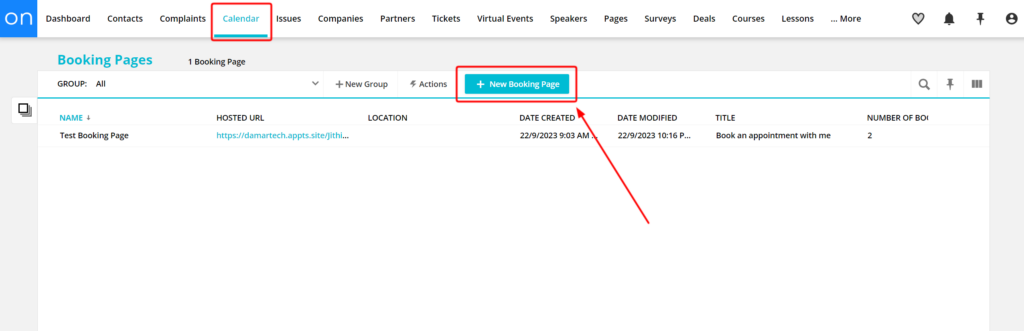
Go to Calendar >> New Booking Page >>And fill out the details
You may want to create an event template before hand which contains event reminder emails, meeting locations and other details, if you are planning to automate the reminder settings via a template.
Fill out necessary information under the tabs "Details", "Hosts", "Custom Fields", "Confirmation Settings" and "Form settings". You should be able to figure these out if you have worked with Ontraport setup before. It is pretty straightforward.
Finally you will reach the "Style" tab.
We need to add a "Header Code" here, a bit of Javascript.
Now we need to add the below JavaScript snippet onto this page in the Header code section.
Copy and Paste the below code to Custom Code section of the page
<script>
  function sendHeightToParent() {
    const rect = document.documentElement.getBoundingClientRect();
    const offsetHeight = document.documentElement.offsetHeight;
    const height = rect.top < 0 ? offsetHeight + Math.abs(rect.top) : offsetHeight;
    window.parent.postMessage({ height: height }, "*");
  }

  function observeContentChanges() {
    const contentObserver = new MutationObserver(sendHeightToParent);
    contentObserver.observe(document.body, { childList: true, subtree: true, attributes: true });
  }

  window.addEventListener("load", () => {
    sendHeightToParent();
    observeContentChanges();
  });
  window.addEventListener("resize", sendHeightToParent);

  window.addEventListener("message", (msg)=>{
    const data = msg.data;
    if ( data.type == 'formProcessorMessage' ) {
      if ( data.data.type === 'conditionalRedirect' && data.data.url ) {
      		 window.parent.postMessage({ conditionalRedirectURL: data.data.url }, "*");
      }
    }
  });
</script>

Once you are finished with adding the Javascript snippet, it is time to publish the page. You can publish on the free domains available or on to your own domain.
Once you publish it, you'd have a url like https://domain.site/UserName/Booking-page-name. We will need to copy the url for our next step.
In order to embed a form onto your page, you would require a custom code element. Then you have to copy and paste the iframe embed code with a few changes depending on the url of your published page.
This code can be placed either in the body or even footer section of the website, depending where you want your booking calendar to appear.
Note : This is the part where Ernesto suggested an edit to the original code which made the form embed responsive on all devices. In the html part, ie within the <div> tag use the complete url of the page you've created. In the <script> part, use only the root domain. This will give you a responsive form on anywhere you embed it.
Update the parts that are in bold.
<div class="iframe-container">
  <iframe id="myIframe" src="https://domain.site/UserName/Booking-page-name" allow="cross-origin" onload="updateIframeHeight(this);"></iframe>
</div>

<style>
  .iframe-container {
    position: relative;
  }

  .iframe-container iframe {
    width: 100%;
    border: none;
    overflow: hidden;
    resize: none;
  }
</style>

<script>
  // Update the height of the iframe to match its contents
  function updateIframeHeight(iframe) {
    window.addEventListener("message", function(event) {
      if (event.origin !== "https://domain.site") {
        return;
      }
      iframe.style.height = event.data.height + "px";
      const framedBody = iframe.contentWindow.document.body;
      framedBody.style.minHeight = iframe.style.height;
    });
  }
</script>
Once you added the form code, you need to add one more piece of code in the footer section of the WordPress site or whichever platform you're using. This is a Javascript code.
<script>
  window.addEventListener('DOMContentLoaded', function() {
    var iframe = document.querySelector('iframe');

    // Wait for the iframe to load
    iframe.addEventListener('load', function() {
      console.log("Sending URL:", window.location.href);
      iframe.contentWindow.postMessage(window.location.href, '*');
    });
  });
</script>
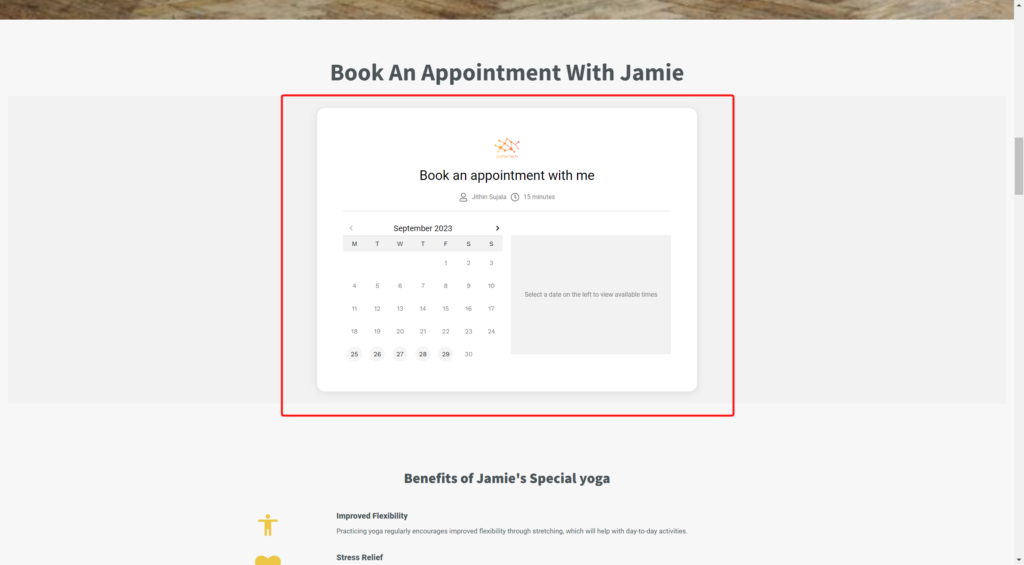
If everything worked fine, you would see a form like this
Hope this works for you as well.
Let me know, if this worked for you.

This is cool, but the thank you page ends up in the iframe! How can you fix that?
If you have a thank you page redirect set on the form settings, it will open that page outside of iframe. At least that is what happening at my end.